Putting together an independently produced photoshoot for the first time? Or are you looking for new and improved ways to refine your process? Our tips below will set you up for success and provide insight about how to execute a photoshoot you’re proud of.
Courtesy of the Art of Freelance. Written by Mathieu Young. Original article published here.

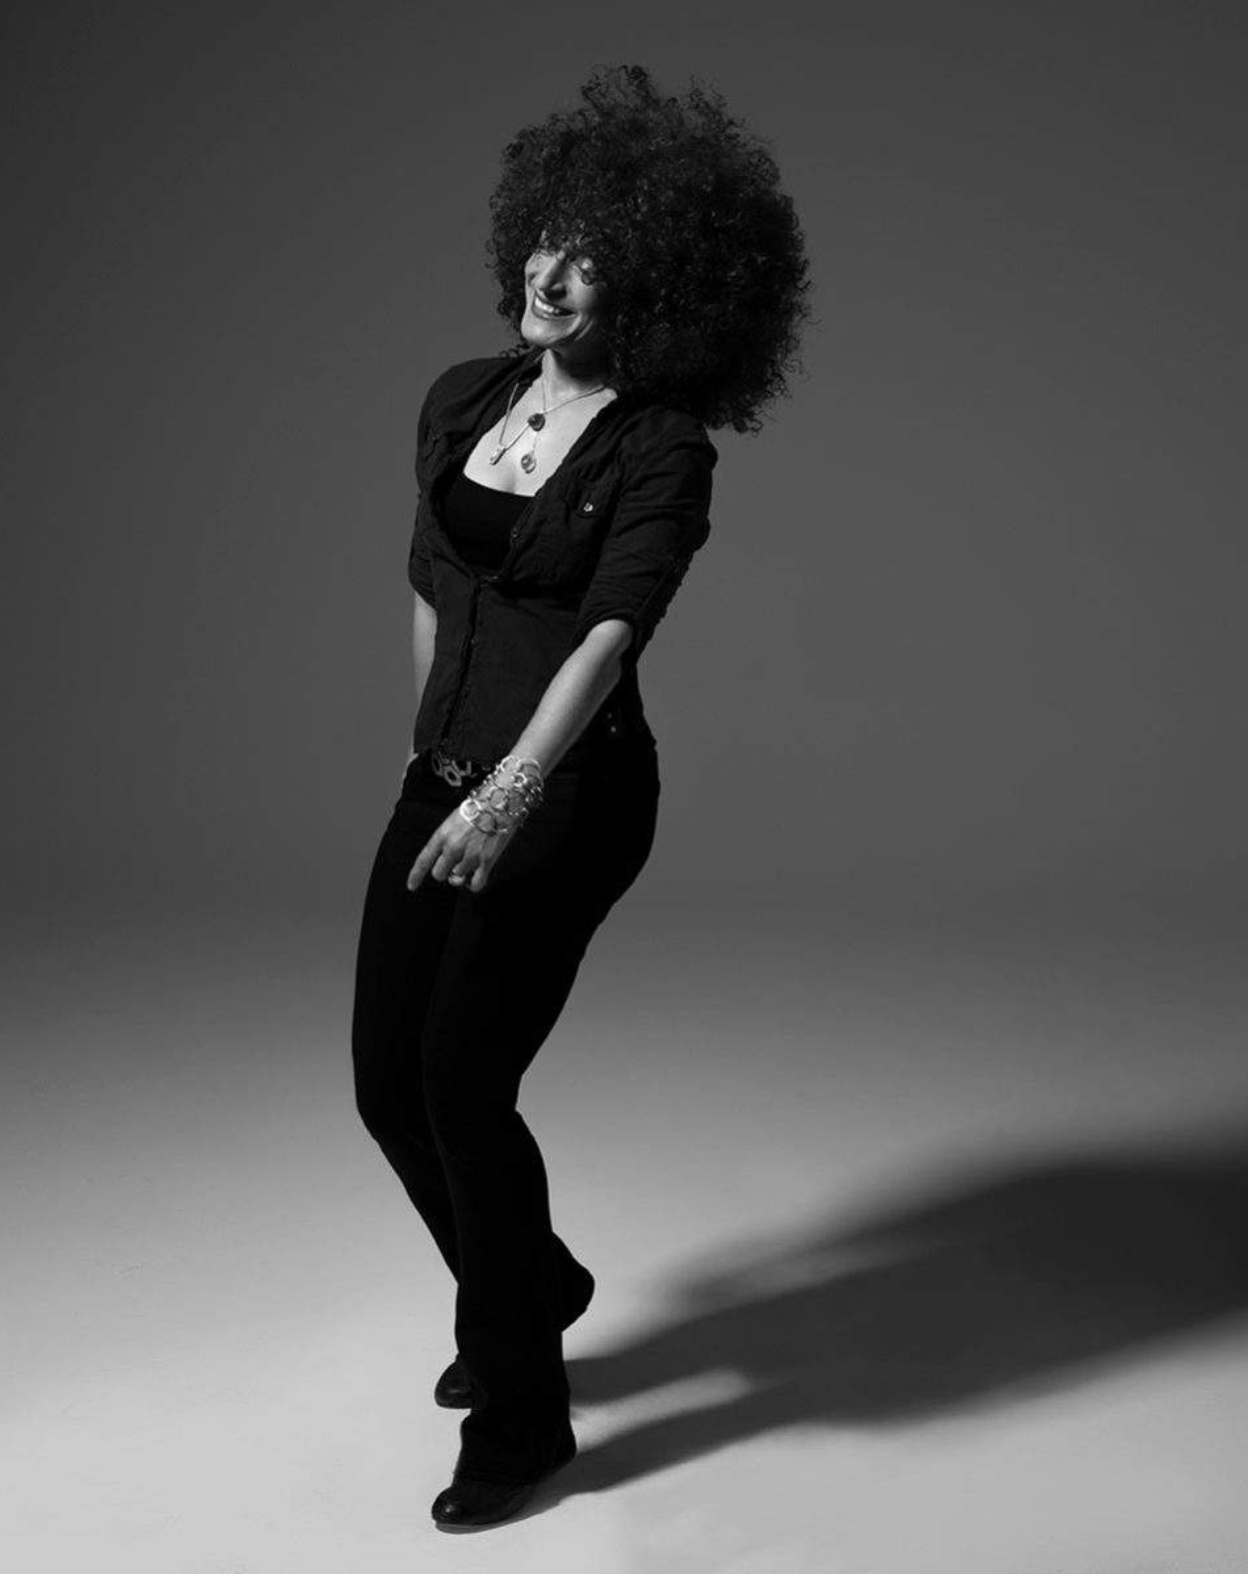
Lifestyle shoot by Mathieu Young.
Have a vision
It all starts here. Your job as an artist is to find a way to translate your ideas, experience, passion, curiosity into imagery that inspires your audience.
Start with the end in mind. Imagine you have successfully completed this photoshoot. Ask yourself these questions:
- Who would you ideally like to see these photos (“everyone” is a bad answer. Get specific.)
- How do you want your audience to feel after they’ve seen these photos?
- Is there any action you hope people will take after they see them?
You need to have a vision that you’re able to articulate, so that you can explain it clearly to your team; models, stylists, lighting assistants, clients, even the caterer or the traffic cop will feel more inspired and invested in the project if you can clearly articulate your vision.
Don’t be afraid to pull inspiration.
It’s all been done before, so don’t feel like looking at other people’s work for inspiration is somehow cheating, or copying. If you are doing a commercial photoshoot, inspiration (also called “mood boards”, “swipe”, “tears”, “concepting”, or “reference”) will likely be given to you. If you are doing this shoot independently, or your client didn’t provide that, you should create it yourself.
Having visual references creates a common language between you and your team. Words can be hard to translate into images, and people have different interpretations of ideas as simple as “bright” or “moody” or “vibrant”. Having images to refer to will help streamline the way you communicate what it is you have in your head into a reality created in pixels or on celluloid.
Spend some time in your archives, on the internet, or at the magazine stand, and pull reference imagery liberally. No one image should be exactly what you’re trying to make (that’s called copying), but each image you pull should have an element that will help you explain your vision. Either, “we’re going for something like this” or “let’s NOT do it like that”. Also look for images that can help clarify what people mean with those simple, but often misinterpreted terms, like “bright” or “moody” or “vibrant”.
One thing to be wary of when working with clients, sometimes the “reference image” becomes too much of a north star. They’ve seen that image so many times that they lose sight of the fact that they’ve hired you to put your spin on it, to apply your creativity to it, and all of a sudden you find them playing it safe and asking you to simply recreate it. This is a tricky situation, but one that you can use to your advantage.
I find the best course is to use their reference as a starting off point. Get close to that image so they can check the box on the shot list, feel confident that they’re going to be a hero when they come back to HQ with the image that everyone had in their minds. Now, it’s your chance to elaborate. Find new angles, new lighting, a new moment in a similar set up. This is where the magic happens. If you can create a version of what they’ve been looking at, but better, more compelling, more exciting, more engaging, a “version 2.0, new and improved”, they will likely be coming back to work with you again and again.
Research
Know your subject. Know their best angles. Know their favorite color and favorite food.
Know your clients. Know their company, their goals, and their history.
Know your locations. Know the weather. Know the tides.
Know your current events.
RESEARCH before your shoot.
Over prepare.
Build your team
One of the best pieces of advice I got as a young photographer was to hire people more knowledgeable and experienced than yourself, explain your vision to them clearly, and then get the hell out of the way and let them do what they do best.
A common symptom of inexperience or a lack of confidence is to try and over direct your team. It creates tension, a lack of cohesion, slows things down, and rarely results in better images.
I’m not a hairstylist, so I’m not going to tell the hairstylist how to style hair. I’m going to explain my vision, hear their strategy, make suggestions, and let them at it. I grew up in the industry as a lighting assistant, so I could make a million small adjustments to where and how the lights get set up. But that will take my eyes off the big picture, so instead I will make a sketch of what I’m looking for, or show a lighting reference, let the lighting team find their way there, and make adjustments as needed.
It becomes tempting to get your hands in the sandbox and tell everyone how it could be done, especially when clients are watching, but you will build a better team and get better results if you hire well, and let them work their artistry.
The key to this arrangement is that you have to have completed steps one and two: having a vision and having the reference imagery to help you articulate it. Otherwise, you’re going to be getting a mishmash of everyone else’s vision, not an efficiently executed version of yours.
Some Nuts And Bolts
Now it’s time to book your studio, equipment, and crew.
If you’re looking to book a studio, we love the good people at Space For Arts, the only studio listings site built specifically for the photography community. Most listings sites lack services to help photographers connect with quality studios easily. At Space For Arts, studio owners can easily post their spaces and photo professionals can easily search by location, size, type and many other features. It’s a huge time saver and incredible resource. Click here to learn more. The studio picture you see on the right is from Edge Studios where we hosted our Spring 2018 showcase. More info about the studio here.
If you’re looking for a great crew, reach out to other photographers and ask for recommendations. We know that everyone we work with are freelancers on the hustle, so we love recommending our favorite people. When you reach out to ask someone to work with you, make sure you tell them upfront what the rate is (and for how many hours – the standard on a photoshoot is 10), or ask them what their rate is.
There is complexity for how you can legally pay a crew on a photoshoot, which is a blog post for another time. Do your research, but in our opinion, the best, safest route, is through a payroll company. On most advertising shoots there is 24% payroll taxes (also called “fringes”) added into the budget.
A shoot isn’t over when you leave the set. There is still plenty to do. The producer (in this case, you) needs to “wrap” the job (file all the paperwork, get everyone paid), while the photographer (also you!) needs to manage the post process (archiving, selecting final images, color grading, retouching, posting).
Don’t forget to share the final images with the team that helped you create them!
There is obviously a million more important tips to touch on. The best way to learn to successfully produce a photoshoot is to simply start. You’ll learn with every shoot you do. We love that old saying, “the best time to start something is ten years ago. The second best time is NOW.”
Thank you to the Art of Freelance team for the shoutout – The Space for Arts team.
For more inspiring photography tips and insights click here.


